Separate the Outside Job From the Inside Job
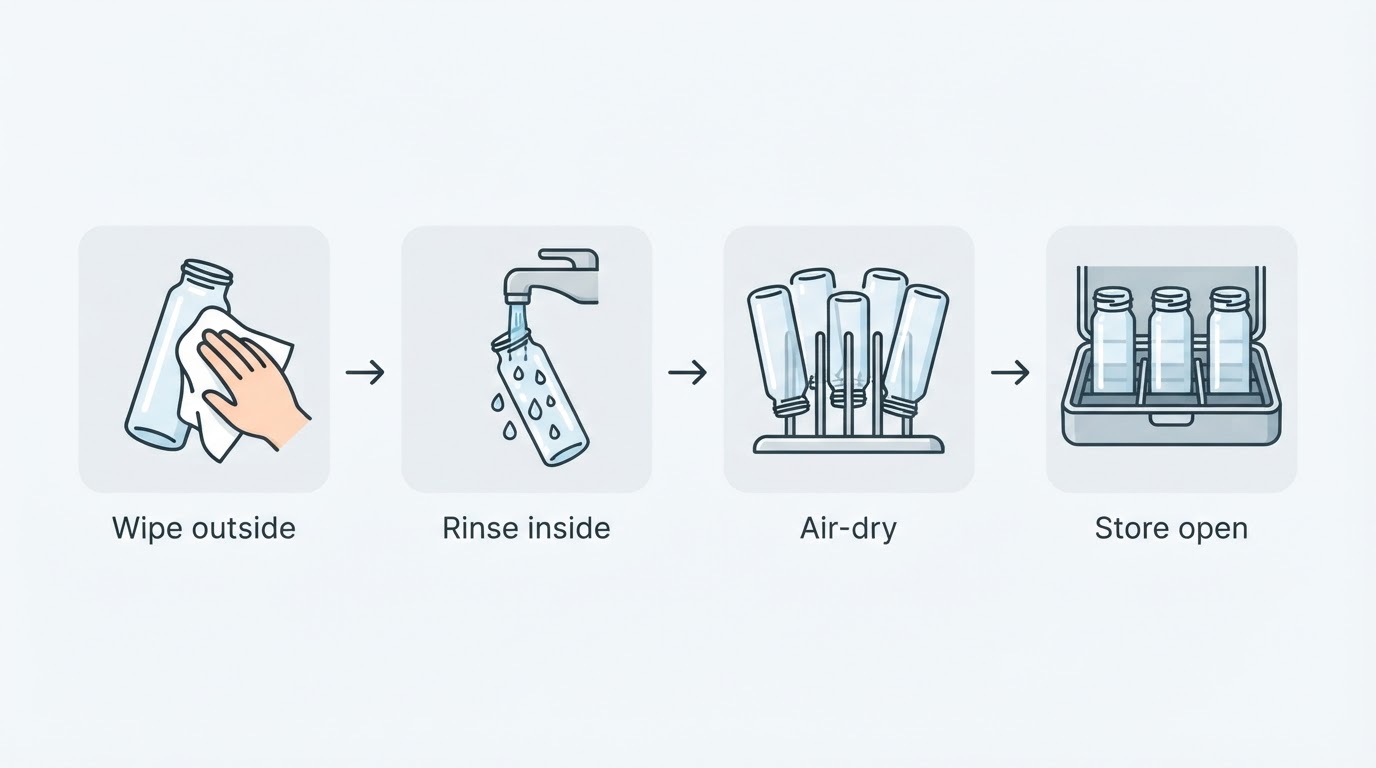
A test vial gets contaminated in two places, and one routine cannot fix both. The outside is an optical surface, where fingerprints, dust, dried salt, scratches, and bubbles sit in the light path. The inside is a sample container, where reagent residue and old tank water can carry into the next reading. Treat them as two jobs: wipe the exterior and rinse the interior as your kit maker directs, then let the container dry.
The failures differ. On a colorimeter such as a Hanna Checker, a smudge or a bubble on the glass can change what the instrument reads. Inside the tube, Hanna warns that leftover rinse water can dilute the next sample, which is why it calls for air-drying rather than capping a wet cuvette.
Wipe the Exterior, Don't Scrub It
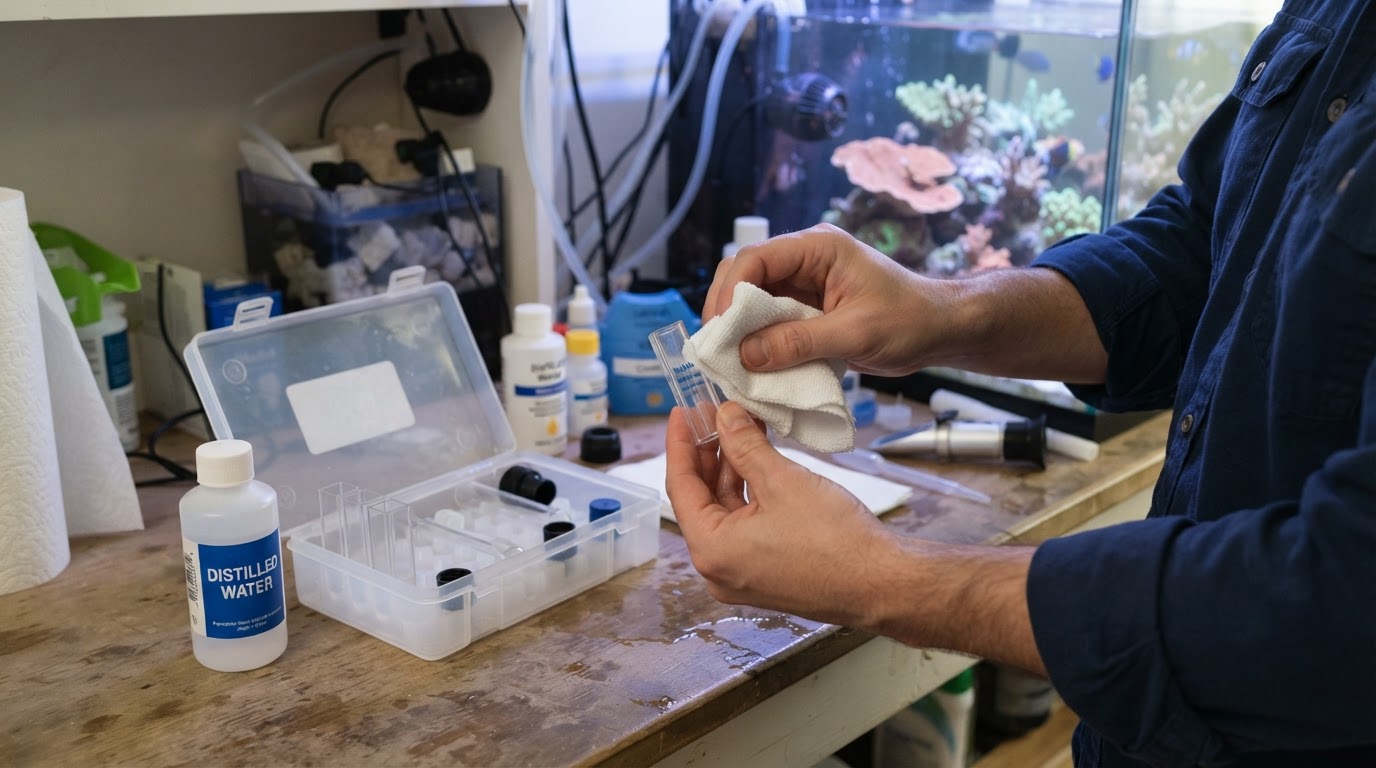
Hanna's guidance for its Marine Checker line explains that these instruments are colorimeters, so anything that blocks light on the cuvette can affect the result: fingerprints, scratches, dirt, or air bubbles (8 best practices for using your Hanna Marine Checker). For Hanna cuvettes, wipe the outside with a microfiber or other lint-free cloth before each reading, and gently tap or swirl to release bubbles.
Keep that cloth clean and use it only for glass. A gritty cloth adds the scratches you are trying to avoid, and a scratched cuvette cannot be polished back into specification. Check the maker's instructions for further cleaning or replacement.
Rinse the Interior Right After the Test
Hanna's instructions for its Checker cuvettes call for emptying the reacted sample once you have recorded the result. Hanna notes that leaving reagent mixture in the cuvette can stain the glass and change how light passes through it. Rinse with distilled or deionized water rather than tank water, and leave the cuvette open to air-dry so rinse water does not carry into the next sample. Hanna also says to store cuvettes with caps off.
If you test freshwater and saltwater, keep separate syringes or pipette tips for each. Hanna notes that shared pipettes can carry salt into a freshwater sample, the same contamination risk elsewhere in the workflow. Other kits may specify a different rinse, so follow their directions rather than borrowing Hanna's.
Use the Directions for the Exact Kit You Own
Everything above is Hanna's guidance for Hanna Checker cuvettes. API, Salifert, and other makers ship their own directions, and those, not a forum recipe, govern how to clean, rinse, condition, store, and dispose of materials for that kit.
A stained or cloudy tube is not automatically scrap: if the maker supplies an approved cleaning method, follow it; if the maker says to replace the container, replace it. Do not improvise an abrasive polish or a soak the maker does not list. Never mix household cleaners, including bleach, vinegar, or acid, and never pour reacted sample water back into the aquarium.
Check the Vial Before You Trust the Reading
Before you fill the vial, run a visual check: the outside is dry and mark-free, the inside has no standing water or residue, and the reagent and pipette belong to this test. If a check fails, correct it or use a spare container.
A clean-looking vial is not proof that a reading is valid. Sample volume, mixing, timing, reagent condition, and the kit's own calibration steps all affect the number, and a clean exterior removes only one source of error. Use it to catch obvious problems, then trust the result only when the rest of the procedure was followed.
It also helps to log the date and parameter, so an odd number can be compared with the tank's history. Our guide to aquarium water quality explains which values tend to move first and what warning signs mean. Cleaning the vial protects the reading; the reading only helps if you know what the tank usually does.