Define "Best" Before You Compare Fixtures
There is no universally best reef light. Every fixture is a set of trade-offs between spread, intensity, spectrum control, mounting options, and price, and the right balance depends on the tank you actually run. A fixture that covers a 20-gallon nano beautifully may barely reach the sand bed of a tank that is 24 inches deep.
Before you look at a single product page, answer three questions.
- What do you keep now, and what do you want to keep in a year? A soft-coral tank has different needs from an SPS-dominant system.
- What are the tank's length, width, and depth, and where will the fixture sit? Mounting height changes both coverage and intensity.
- How much control do you want? Some keepers want a set-and-forget schedule; others want per-channel tuning and sunrise ramps.
Most reef light purchases fall into three situations: buying a first light for a new tank, replacing a fixture that has failed or aged, and upgrading so you can keep more demanding corals. The first favors simple coverage and easy setup, the second favors mounting compatibility and parts availability, and the third favors intensity headroom and channel control. Write your situation and your goal in one sentence before you shop. If you cannot finish that sentence, no spec sheet will help you.
The Metrics That Decide Whether a Light Works
Six specifications decide whether a fixture works in a real tank. Everything else is secondary.
What to check | Why it matters | How it fails in practice |
|---|---|---|
PAR or PPFD at a real mounting height | Shows usable intensity where corals sit | A single peak number with no map for your footprint |
Spectrum and channel mix | Feeds corals and sets what you see | "Full spectrum" labels with no channel detail |
Spread and coverage | Lights rockwork and sand evenly | Bright center, dark corners on long or wide tanks |
Dimming and scheduling | Enables acclimation, ramps, and repeatability | On/off only, or settings buried in a fragile app |
Mounting and heat | Determines placement, noise, and lifespan | A clamp that does not fit your rim, or a fan that whines |
Parts, warranty, and firmware | Decides how long the fixture stays useful | No spare boards or lenses two years after launch |
Intensity, not wattage. Wattage describes power draw. PAR describes how much light reaches a given point in your tank, and it falls with distance. Ask for a PAR map measured at the height you plan to mount the fixture, across the tank footprint, rather than a single center reading.
Spectrum. Reef fixtures blend blue and violet channels for coral growth with white channels for viewing. Channel control matters more than any single spectrum label, because it lets you run a growth-oriented blue phase and then bring up white output for the look you prefer.
Spread. Spread is the spec that decides whether the corners of your rockwork and the sand bed get useful light, or a bright island in the middle of a dim tank. Coverage widens as you raise the fixture, but intensity drops at the same time; that trade-off is the real decision you are making.
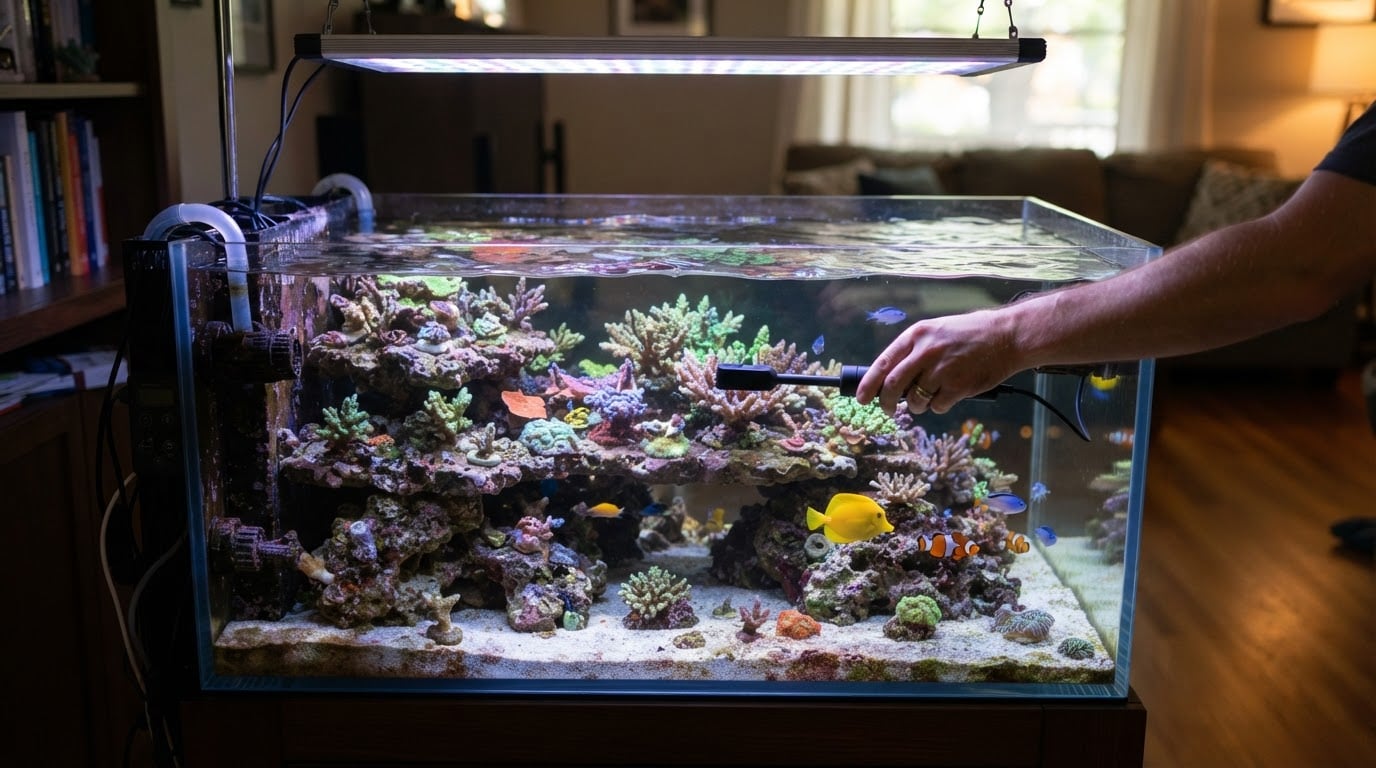
Control. Sunrise and sunset ramps, per-channel dimming, and a schedule you can repeat without fiddling make a bigger daily difference than a small bump in peak output.
Ownership. Heat management, fan noise, lens cleaning, firmware updates, spare parts, and warranty terms decide how the fixture ages. A low-cost light with no parts pathway gets expensive the first time a board fails.
Match the Fixture Type to Your Tank Geometry
Most reef LEDs fall into three practical shapes, and each fits a different footprint.
- Point-source fixtures push a narrow, intense cone. They suit deep tanks and focused coral placement, but a wide tank usually needs two or more.
- Wide panels spread a broad blanket over a rectangular footprint and are the usual choice for mixed reefs from roughly two to four feet long.
- LED bars and strips are modular. They fit long or peninsula tanks, are easy to supplement, and can be replaced individually, though each unit carries less punch.
Older fixtures with good control and dated LEDs can often be revived with replacement boards, added bars, or a second unit instead of a full replacement, which is worth pricing before you discard a fixture that already fits your tank.
To choose a shape, sketch your tank from above. Mark where you want high light for demanding corals, moderate light for LPS, and lower light or shaded zones for soft corals. Then compare every candidate's coverage to that sketch at your planned mounting height, not to the size of the tank.
Choose by Coral Goal and Tank Depth
Intensity needs follow the livestock, not the tank volume. As a general hierarchy, soft corals and most LPS sit in the lower band, mixed reefs in the middle, and SPS-dominant systems in the upper band. Tolerant species can often adapt to brighter conditions; demanding species cannot adapt to a light that never reaches them.
- Soft coral and LPS tanks: Prioritize even coverage, a comfortable viewing spectrum, and simple scheduling.
- Mixed reefs: Prioritize spread and stable control, so you can place demanding corals in the brightest zones without shading everything else.
- SPS-dominant systems: Prioritize intensity headroom and uniformity. Hot spots and dark corners both cause problems when colonies grow into them.
- Frag and shallow tanks: Prioritize spread, since depth penetration matters less than covering a wide, shallow footprint.
Depth changes everything. A fixture mounted higher spreads light farther but delivers less of it at coral level; a lower mount concentrates light but shrinks coverage. Get intensity figures for your planned height and compare them at the positions where your corals actually sit.
Spectrum, Schedule, and Acclimation
The spectrum you choose decides both how well the tank feeds your corals and how good it looks from your couch. Blue-dominant phases support photosynthesis and fluorescence; white and full-spectrum phases make fish and rock look natural. A controllable fixture lets you shift between the two without changing hardware.
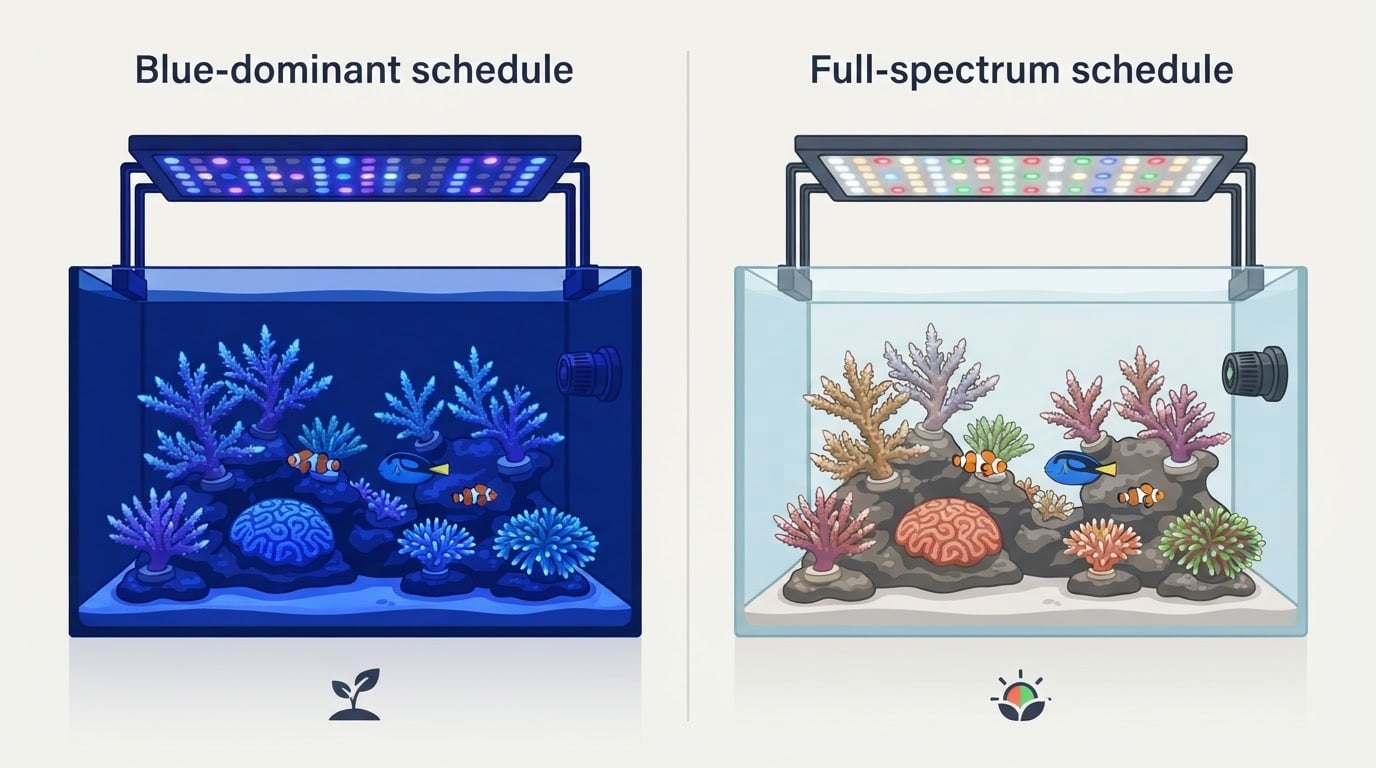
Consistency beats intensity spikes. A repeatable daily schedule with a gradual ramp up and down keeps conditions stable and removes the temptation to tinker. When you change anything, whether that is a new fixture, a new coral, or a colony moved higher on the rockwork, start below the final intensity and raise it gradually over weeks. Watch for bleaching, closed polyps, and sudden algae growth, then adjust based on what the tank shows you.
Light also works alongside flow and nutrients. If algae surges after a lighting change, review feeding and nutrient export before treating light as the only cause.
What Spec Sheets and Reviews Usually Leave Out
Manufacturers describe the best case. The gaps are predictable.
- Coverage claims without a stated mounting height.
- Peak PAR measured at the center, where no coral usually sits.
- "Reef-ready" used as a category word rather than a specification.
- Control features that depend on an app the maker may stop updating.
- Fan noise and heat, which matter in a living room.
- Spare parts, lens availability, and warranty terms.
You can close most of these gaps before purchase. Ask for a PAR map at your mounting height and footprint. Look for long-term owner reports that mention corners, fans, and firmware, not just unboxing photos. Check whether replacement boards, lenses, and power supplies are sold. If a seller cannot show a PAR map that matches your tank geometry, treat the coverage claim as unproven.
A Repeatable Way to Choose in One Sitting
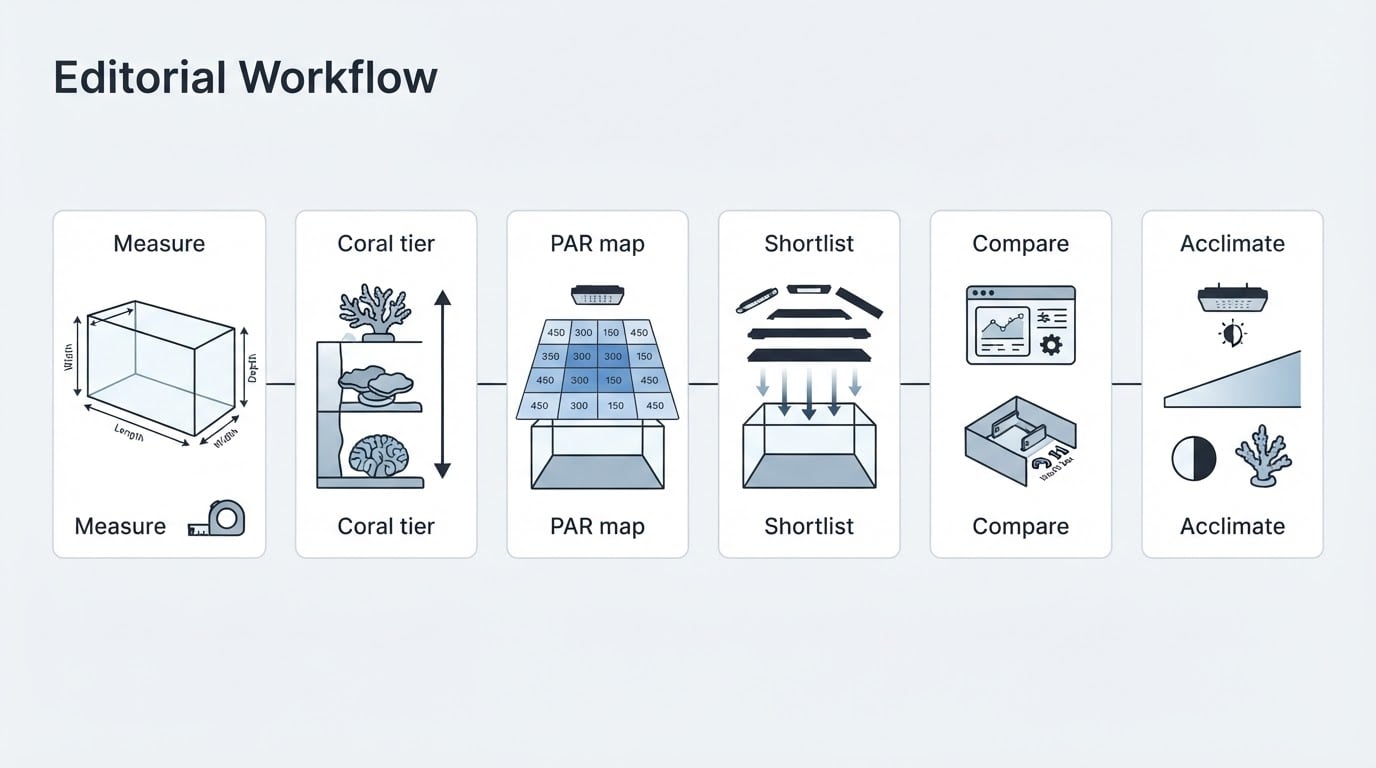
Work through six steps and stop when you have a shortlist.
- Measure the tank, note where each coral group sits, and decide how high the fixture will hang or mount.
- Set your coral tier: soft and LPS, mixed, or SPS-dominant.
- Collect PAR maps at your real mounting height and overlay them on your tank footprint.
- Shortlist only fixtures that cover the whole footprint with headroom for growth.
- Compare control, mounting, noise, parts, warranty, and the total cost of mounts and controllers.
- Buy the best fit, then plan an acclimation ramp before the box arrives.
Run through it once and you will have a shortlist you can defend with numbers instead of forum opinions.
Before You Buy: A Quick Checklist
- Tank length, width, and depth written down.
- Planned mounting height and method confirmed against your rim or canopy.
- PAR map checked at that height across the full footprint.
- Intensity headroom for the most demanding coral you plan to keep.
- Channel control, dimming, and a repeatable schedule.
- Fan noise and heat expectations understood.
- Replacement parts, warranty, and firmware support verified.
- Total cost including mounts, controllers, and any extra bars.
- A written acclimation plan for the first weeks.
The Bottom Line
Buy coverage first, controllability second, and brand last. The best LED light for a reef tank is not a model number carried over from someone else's build; it is the fixture that covers your footprint at your mounting height, gives your corals the intensity they need with room to grow, and lets you control the light well enough to keep conditions stable. Once a fixture clears those tests, the price difference between two capable options usually buys convenience, not coral health.